Do Volleyballs Float? Essential Guide

Yes, volleyballs can float, but it’s not the ball itself that’s doing the floating. It’s the technique used by the server or hitter that makes the ball appear to hang or change direction unexpectedly in the air. This guide will break down the science and technique behind a float serve and how you can master it!
Have you ever watched a volleyball game and seen the ball sail over the net, seemingly hanging in the air for an extra moment before dropping? It can be confusing, right? Many new players wonder if the volleyball itself has some special property that makes it “float.” The truth is, it’s all about how the ball is hit! Understanding this technique can seriously up your game, whether you’re serving or trying to pass an unpredictable ball. Don’t worry if it sounds complicated; we’re going to walk through it step-by-step, making it easy for you to grasp. Get ready to learn how to serve with that elusive float and how to defend against it!
What Exactly IS a Float Serve in Volleyball?
A float serve, also known as a “jammer” or “knuckleball” serve, is a type of serve in volleyball that travels with little to no spin. This lack of spin is what makes the ball behave erratically, appearing to “float” or “knuckle” unpredictably through the air. Unlike a topspin serve that arcs predictably, a float serve’s trajectory can change suddenly due to air currents, making it incredibly difficult for the opposing team to pass accurately.
This serve is a favorite among players because it relies on precision and strategy rather than raw power. It’s a fantastic weapon for disrupting the opponent’s serve receive and can lead to easy points or forced errors. For beginners, mastering the float serve is a significant milestone. It teaches ball control, proper contact, and strategic thinking on the court.
The Science Behind the Float: Why Does it Seem to Float?
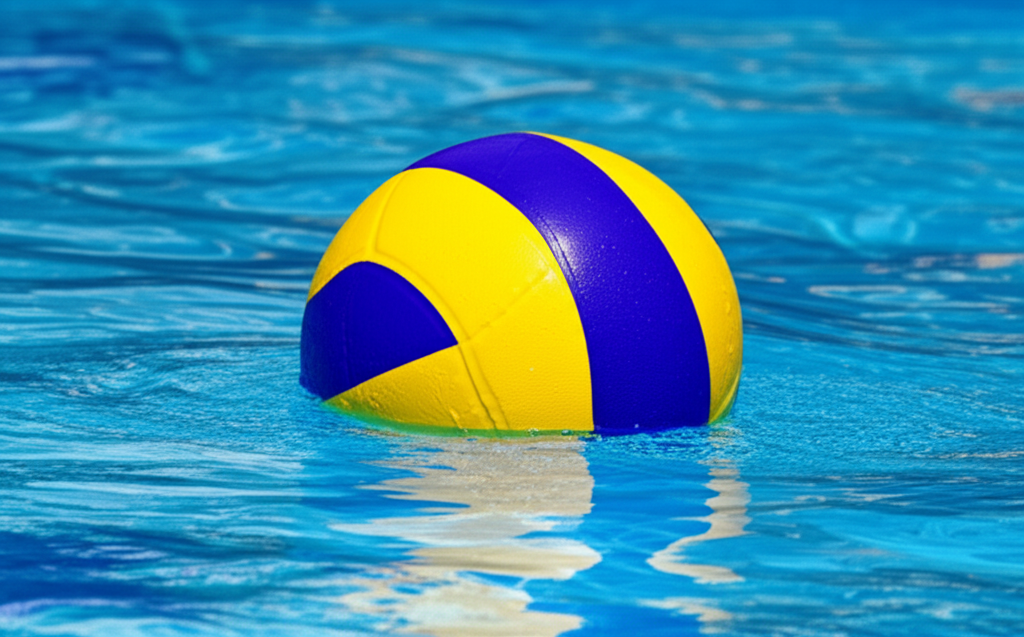
The “floating” effect isn’t magic; it’s physics! When a volleyball is hit with minimal spin, the air pressure around it is not uniform. Typically, a spinning ball creates a consistent layer of air moving with it, resulting in a predictable path.
However, a float serve, with its lack of spin, causes air to flow unevenly around the ball. As the ball travels, tiny imperfections on its surface and the slight shifts in air pressure create turbulent eddies. These eddies can push or pull the ball in unexpected directions. Think of it like a dancer whose movements are precise and controlled versus someone whose movements are a bit more unpredictable and jerky – the latter is harder to follow.
This phenomenon is often explained by the Magnus effect (or rather, the lack of a significant Magnus effect). The Magnus effect explains how a spinning object moving through a fluid (like air) experiences a force perpendicular to its direction of motion and its axis of rotation. For a float serve, the goal is to minimize this effect.
According to sports science, the ideal float serve has very little topspin or sidespin. The ball should travel in a straight line for as long as possible before dropping suddenly due to gravity and air resistance. This unpredictable movement is what makes it so challenging to receive.
Key Characteristics of a Float Serve:
Minimal Spin: The ball is struck cleanly with no wrist snap or follow-through that would impart spin.
Unpredictable Trajectory: The ball can dip, swerve, or move erratically.
Slower Speed (often): While not always the case, float serves are often hit with less power than topspin serves, prioritizing placement and unpredictability.
Flat Path: It travels relatively flat for a good portion of its journey before dropping.
How to Master the Float Serve: A Step-by-Step Guide
Learning to hit a float serve takes practice, but it’s achievable for players of all levels. The key is to focus on a clean, solid contact with the ball and to avoid imparting any spin. Here’s how to break it down:
Step 1: The Stance and Toss
Stance: Stand with your feet shoulder-width apart, with your non-hitting foot slightly forward. Your body should be facing the net, or slightly angled towards your target.
The Toss: This is crucial for a float serve. Unlike a topspin serve where you toss the ball slightly in front and to the side, for a float serve, you want a low, stable toss directly in front of your hitting shoulder. The toss should be just high enough to allow you to hit the ball at its peak with a straight arm. A toss that is too high or too low makes it difficult to make clean contact. Aim for consistency in your toss.
Step 2: The Approach (Optional, but Recommended)
If you’re comfortable, a short approach can add a little power and momentum. Usually, this involves one or two steps. The last step should be a plant of your forward foot.
Key: Don’t let the approach disrupt your toss or your ability to make clean contact.
Step 3: The Arm Swing and Contact
Arm Swing: Bring your hitting arm back in a smooth, natural motion. Keep your elbow slightly bent.
Contact Point: This is the most critical part. You want to hit the ball with the heel of your hand or the flat of your palm. Imagine you’re trying to “push” the ball over the net rather than “hitting” it.
Strike the Ball: Aim to contact the ball in the center, right on the seam where the panels of the ball meet. This helps minimize spin. Hit the ball with a firm wrist and straight arm at the point of contact. Think of it as a controlled “slap” or “punch” rather than a swing.
Avoid Spin: Do NOT snap your wrist or “follow through” in a way that would roll off your hand. The goal is a clean, dead contact.
Step 4: Follow-Through (or Lack Thereof!)
For a float serve, your follow-through should be minimal. After contact, your arm should continue its motion forward, but without a dramatic wrist snap or wrap-around. It should be a straight, forward extension.
Tips for Improving Your Float Serve:
Practice Your Toss: Spend dedicated time just tossing the ball correctly. Consistency here is key.
Focus on Contact: Hit dozens, even hundreds, of balls with the goal of zero spin.
Watch the Ball: Keep your eyes on the ball all the way through contact.
Experiment with Hand Placement: Try hitting with the heel of your hand, the flat of your palm, or even a slightly open hand. Find what gives you the most consistent, spin-less contact.
Film Yourself: Watching your serve can help you identify any unintentional spin you might be adding.
Listen to the Ball: A good float serve often makes a distinct “thud” sound upon contact, rather than a “whizz” or “snap.”
Defending Against the Float Serve: Reading and Reacting
Just as important as serving a float is being able to receive one! Defending against a float serve requires good anticipation, quick reflexes, and a solid passing technique.
Key Strategies for Passing a Float Serve:
1. Anticipation: Watch the server. Observe their toss and their contact. Sometimes, even subtle cues can give away the type of serve.
2. Ready Position: Be in a low, athletic ready position. Knees bent, weight forward, arms in front of your body. This allows for quick movement in any direction.
3. Eye on the Ball: Keep your eyes locked on the ball from the moment it leaves the server’s hands.
4. Platform Formation: Create a solid platform with your forearms. Keep your wrists together and your elbows locked. This provides a stable surface to direct the ball.
5. Move Your Feet: Don’t just stand and pass. Use your feet to get your body behind the ball. This allows you to control the angle and power of your pass.
6. Soft Hands, Firm Platform: While your platform should be firm, avoid “jamming” the ball with your arms. Use a slight give and take, absorbing some of the ball’s pace while directing it with your platform.
7. Aim for the Setter: Your primary goal is to get the ball to your setter in a controllable way. Aim for a spot slightly in front of them.
Drills to Improve Float Serve Reception:
Serve and Pass: Have a teammate serve float serves to you. Focus on your ready position and moving your feet.
Target Passing: Place a target (like a cone or another player) where you want to pass the ball. Practice passing float serves to that target.
Randomized Serving: Have multiple players serve, some with topspin, some with float. This helps you react to different types of serves.
Defender’s Choice: Have the server call out “float” or “topspin” just before they serve, forcing the passer to adjust their strategy.
Choosing the Right Volleyball for Practice
While you can practice float serves with any volleyball, some types are better suited for learning and development.
Indoor vs. Outdoor Volleyballs
| Feature | Indoor Volleyballs | Outdoor Volleyballs |
| :—————– | :————————————————– | :———————————————— |
| Material | Typically synthetic leather or composite leather. | Often synthetic leather, rubber, or vinyl. |
| Construction | Panels are often bonded or stitched. | Can be stitched or molded. |
| Feel | Softer, more consistent feel. | Can be slightly harder or more textured. |
| Durability | Designed for indoor courts, can be less durable outdoors. | Designed for outdoor elements, more durable. |
| Weight/Pressure| Standardized for indoor play. | May vary slightly, often lighter for beach play. |
| Best For | Formal indoor games, developing precise technique. | Casual play, beach volleyball, all-weather use. |
For practicing float serves, especially indoors, a standard indoor volleyball made of synthetic leather is ideal. They offer a consistent feel and predictable bounce. Outdoor volleyballs, while durable, can sometimes have a slightly tackier surface or different air pressure that might affect the serve’s trajectory differently.
For beginners, starting with a standard, well-inflated indoor ball is recommended. As you progress, you might find that slightly softer balls are more forgiving on your arms, but the core technique for a float serve remains the same.
Common Mistakes When Hitting a Float Serve
Even with the best intentions, beginners often make a few common mistakes that lead to a spinning serve instead of a float.
Too Much Wrist Snap: This is the most frequent culprit. Trying to “hit” the ball hard often leads to a wrist snap, imparting spin.
Fingers “Catching” the Ball: If your fingers wrap around the ball or “catch” it, you’re likely to spin it. Focus on a flat contact.
Toss Issues: A toss that is too far in front or too high/low makes clean contact difficult and can lead to body adjustments that create spin.
Arm Swing Too Fast/Aggressive: While power is good, an overly aggressive arm swing can lead to loss of control and added spin. Focus on a smooth, controlled motion.
Not Hitting on the Seam: While not always critical, hitting directly on a seam can help minimize the air pockets that cause spin.
Frequently Asked Questions About Float Serves
Q1: What’s the best way to serve for beginners?
For beginners, starting with a float serve is often recommended. It teaches control and consistency without the complexity of a topspin. Focus on a clean contact with no spin and a stable toss. As you get more comfortable, you can explore topspin serves.
Q2: How do I know if my serve is a float or has spin?
Watch the ball in flight! A true float serve will travel relatively straight, with little to no visible spin. If you see the ball arcing significantly or rotating rapidly, it has spin. Another tell is the sound: a float serve often makes a dull “thud” on contact, while a spinning serve might make a sharper “whizz.”
Q3: Can I hit a float serve with power?
Yes, it is possible to hit a powerful float serve, but it’s advanced. The key is to maintain a clean, spin-less contact while generating power through a strong leg drive and a fast, straight arm swing. For beginners, focus on consistency and minimal spin before trying to add significant power.
Q4: What kind of volleyball should I use to practice float serves?
A standard indoor volleyball made of synthetic leather is ideal for practicing float serves. They offer a consistent surface and feel. Ensure the ball is properly inflated for optimal performance. You can practice with outdoor balls too, but they might behave slightly differently.
Q5: How high should I toss the ball for a float serve?
For a float serve, the toss should be low and stable, directly in front of your hitting shoulder. It should be just high enough for you to reach the ball at the peak of its trajectory with a straight arm. Avoid tossing it too high, as this can disrupt your timing and contact.
Q6: What are the benefits of a float serve?
The primary benefit of a float serve is its unpredictability. The lack of spin makes it difficult for opponents to read, leading to shanked passes, aces, or easy points for your team. It’s a strategic weapon that can disrupt the opponent’s offensive rhythm.
Q7: How can I improve my serve receive against float serves?
To improve your receive against float serves, focus on your ready position, moving your feet to get behind the ball, and creating a solid platform with your forearms. Keep your eyes on the ball and use a controlled pass, absorbing some of the ball’s pace. Practice drills specifically designed for float serve reception.
Conclusion: Float Your Way to Success!
Mastering the float serve is a fantastic goal for any volleyball player. It’s a serve that combines technique, strategy, and a touch of physics to keep your opponents guessing. Remember, consistency in your toss and a clean, spin-less contact are your best friends.
Don’t get discouraged if your first few attempts don’t go as planned. Every great server started by practicing the basics. Keep these tips in mind, dedicate some time to practice, and you’ll soon be sending those tricky float serves over the net! For more on improving your game, check out our guides on Essential Volleyball Drills for Beginners and Understanding Volleyball Positions. Happy serving!